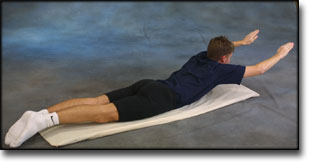
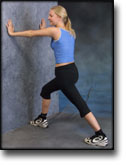
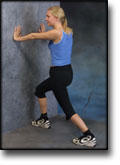
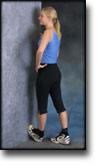
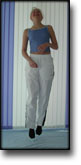
TRAINING LADDER FOR CHILDREN AND ADOLESCENTS:
FOR CROOKED BACK
(SCOLIOSIS)
STEP 1 |
|
||||||||||||||||||||||||||||||||||||||||||||||
TRAINING LADDER FOR CHILDREN AND ADOLESCENTS:
FOR CROOKED BACK
(SCOLIOSIS)
STEP 1 |
|
||||||||||||||||||||||||||||||||||||||||||||||
|
Athletic activity after spine surgery in children and adolescents: results of a survey. |
|
Idiopathic scoliosis and spondylolysis in the female athlete. Tips for treatment. |
|
Recommendations for participation in sports by patients with idiopathic scoliosis |
|
Adolescent idiopathic scoliosis. |
|
Utility of three-dimensional and multiplanar reformatted computed tomography for evaluation of pediatric congenital spine abnormalities. |

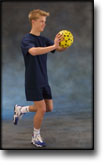
Training ladder for:
RUPTURE OF THE SOLEUS MUSCLE
(RUPTURA M SOLEUS)
STEP 4 |
Unlimited: Cycling. Swimming.
|
||||||||||||||||||||||||||||||||||||||||||||||||||||
|
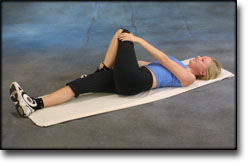
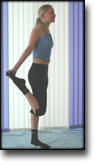
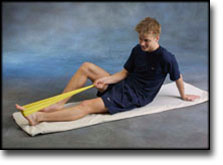
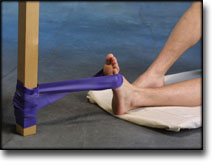
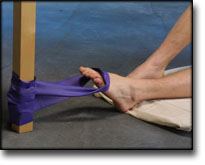
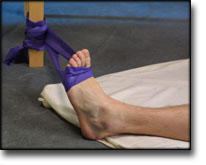
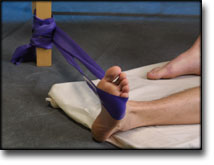
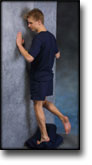
Stretching is carried out in the following way: stretch the muscle group for 3-5 seconds. Relax for 3-5 seconds. The muscle group should subsequently be stretched for 20 seconds. The muscle is allowed to be tender, but must not hurt. Relax for 20 seconds, after which the procedure can be repeated. The time consumed for stretching, coordination and strength training can be altered depending on the training opportunities available and individual requirements. |
Training ladder for:
RUPTURE OF THE SOLEUS MUSCLE
(RUPTURA M SOLEUS)
STEP 3 |
Unlimited: Cycling. Swimming.
|
|||||||||||||||||||||||||||||||||||||||||||||||||
|
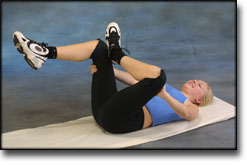
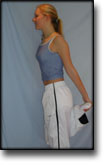
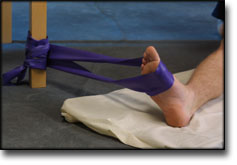
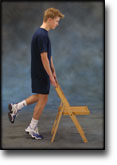
Stretching is carried out in the following way: stretch the muscle group for 3-5 seconds. Relax for 3-5 seconds. The muscle group should subsequently be stretched for 20 seconds. The muscle is allowed to be tender, but must not hurt. Relax for 20 seconds, after which the procedure can be repeated. The time consumed for stretching, coordination and strength training can be altered depending on the training opportunities available and individual requirements. |
Training ladder for:
RUPTURE OF THE SOLEUS MUSCLE
(RUPTURA M SOLEUS)
STEP 2 |
Unlimited: Cycling. Swimming.
|
|||||||||||||||||||||||||||||||||||||||||||||||
|
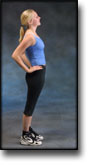
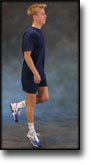
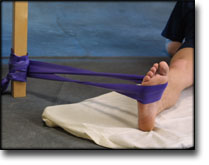
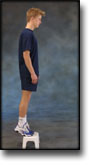
Stretching is carried out in the following way: stretch the muscle group for 3-5 seconds. Relax for 3-5 seconds. The muscle group should subsequently be stretched for 20 seconds. The muscle is allowed to be tender, but must not hurt. Relax for 20 seconds, after which the procedure can be repeated. The time consumed for stretching, coordination and strength training can be altered depending on the training opportunities available and individual requirements. |